Another interesting article that I found... Here goes..
*****
In writing a must-have design supply list, I knew I’d have to put a few “duhs” in here, and I realize you’re not all first year design students. But I tried to throw in some brand recommendations and tidbits to help even the veteran design student get ready for another challenging, but hopefully, rewarding and productive year. I would absolutely welcome any comments or further recommendations of your own that you may have. We can all benefit from them, and I love to get different peoples opinions on their favorite tools. Here are mine:
#1
A Good X-acto Knife with Blades - A clean, crisp look in your presentation can make or break you, so luckily it can be attained with a good cutting tool to eliminate rough edges. Fewer mess-ups will also help you conserve foam core and illustration board which can get expensive. In our studio, the simple rubber gripped skinny knives are more popular as opposed to the retractable utility knives. In addition to X-acto, Olfa, also makes some nice cutting tools. Quick Tip- Get plenty of extra blades. They are very sharp, but it doesn’t take many uses to dull them, and for an important project you definitely want a fresh one!
#2
Adhesives - Professors everywhere are cringing at the sight of excessive glue bulging out at seams or sticky residue on models. The idea of glue is to be as invisible as possible, yet strong and able to withstand handling. This is why cyanoacrylate glues are so great. They go on clear, cure fast, and stay strong. Good ones are the Maxicure (stronger cure), Instacure (faster cure) or the Zap-a-Gap filler. It’s always good to get the catalyzing spray to set the glue instantly. Quick Tip- Be sure the surface you are applying to is clean and sanded to ensure a good bond.
#3
Spray Mount / Alternatives - This is technically an adhesive but it deserves a bullet point of its own because of widespread use among designers for mounting paper on a presentation board. When using spray mount, wash your hands often to avoid transferring sticky residue onto the presentation side of what you are mounting. If you find you are not spray mount inclined and have some trouble with it, you can always use a dry mount like Studio Tac, which is wax paper coated with an adhesive that can be transferred onto another surface. It’s also a lot better for the environment and your lungs.
#4
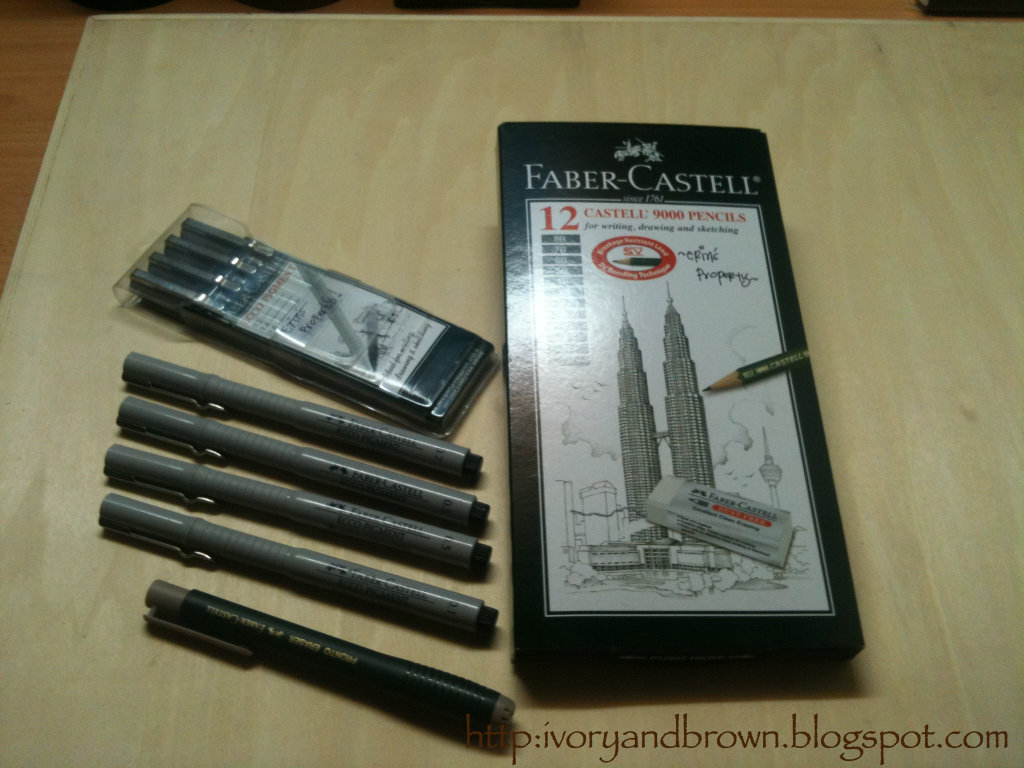
Felt Tip Pens - I used to think that sketching was totally about the artist, not the writing utensil, and to a certain extent it is but not if you are using a cheap hotel pen. Putting down a series of accurate yet confident lines that don’t look like you agonized over them is difficult. But if you have a good pen, you will get less frustrated, draw more, develop better technique, and so on. Micron pens are a nice choice and come in varying line widths, which you should experiment with for hierarchy in your drawings. They also won’t bleed when you go over them with marker.
#5
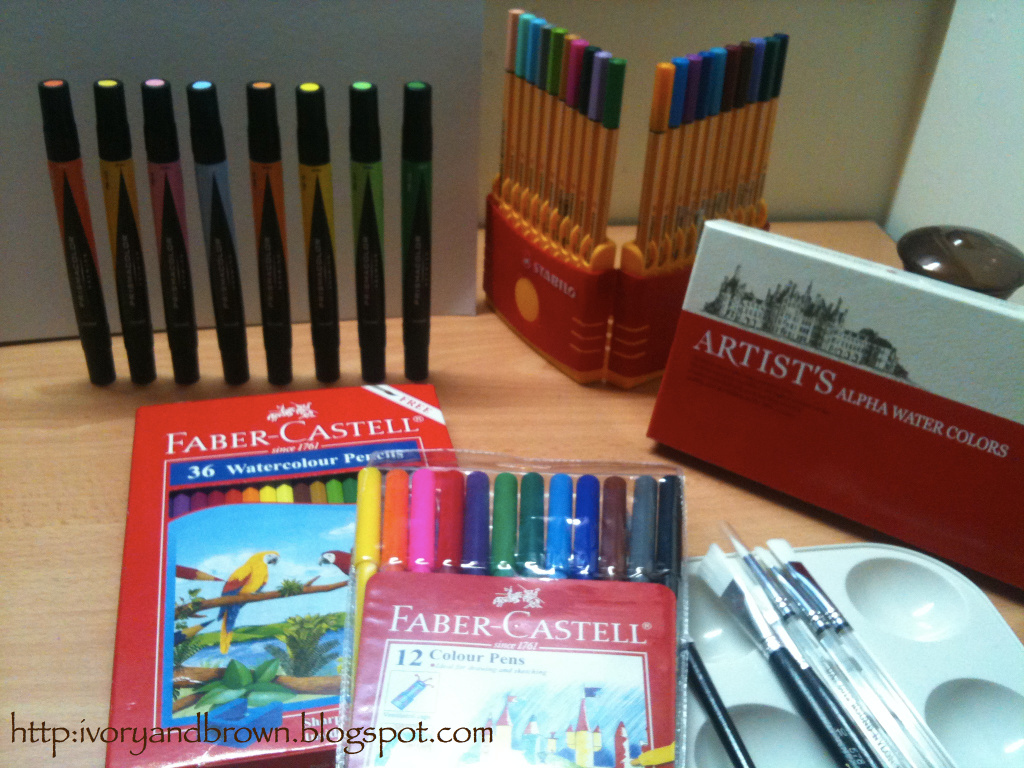
Markers - It’s worth it to shell out the money for a good range of gray markers, especially if you’re taking a class that requires lots of sketching. Professors and employers still put a lot of value in hand renderings, and some cool gray tones can bring a drawing closer to (or better than) reality. You can buy colors a little more sparingly, because the real work is done with the base grays. It’s not necessary to buy every gray shade from 1 to black, because a striking and impressive sketch always has good contrast, so putting down every single gradient won’t be effective anyway. AD and Prismacolor markers are the two main brands you’ll see in art stores. AD markers tend to not bleed the underlying sketch, so they work better as grays. Prismacolors, however, have dual tips and good control for overlaying colors, so you’ll really want to experiment with both.
#6
Primer, white or gray - Go ahead and buy some now because you will need it sooner or later. For ergonomic smooth finishes on models, primer is key. The endless cycle of priming and sanding can be maddening, yes. So don’t wait till the last minute to prime and paint, don’t get trigger-happy with the primer, and wait for it to dry completely before you sand again. Quick Tip- For sanding purposes, gray primer exposes the surface flaws more so that you can tell what you still need to sand.
#7
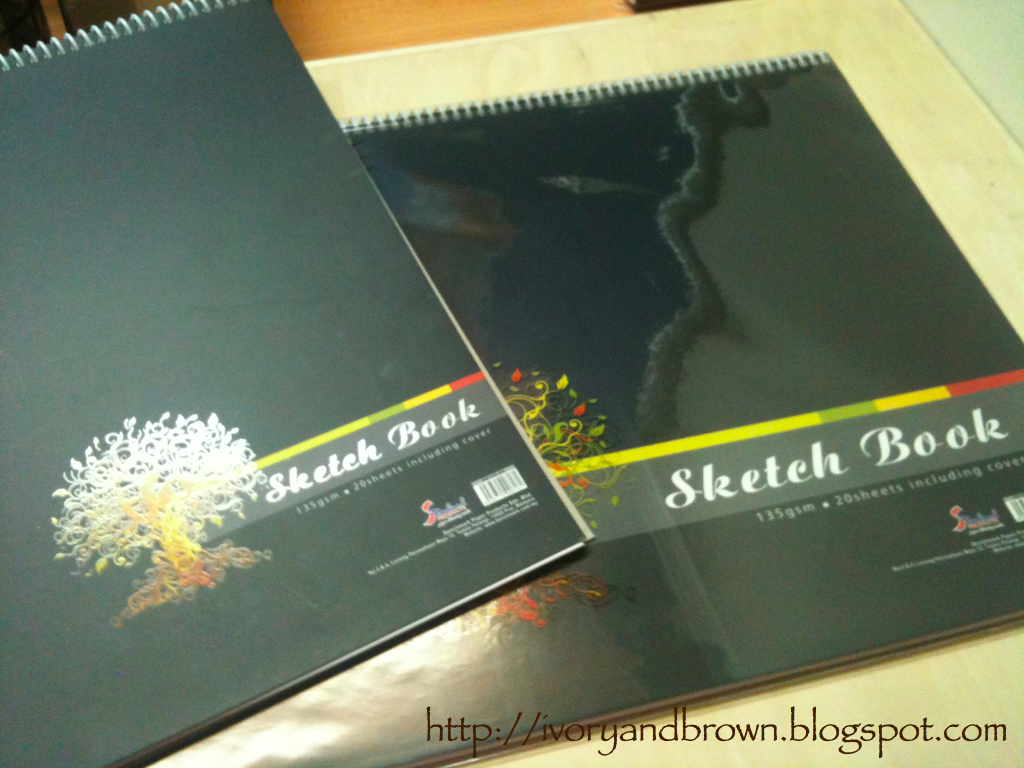
Sketching Paper - Goes hand-in-hand with the markers and pens. Again, you may have to experiment with this, because everyone works better with different media surfaces. An agreeable pad to start out with is the Bienfang Graphics 360 translucent rag sketching paper. Quick Tip- Put something under the page you’re working on because the marker bleeds through and will mark the next page.
#8
Camera - It’s all about documentation. Your professors and future employers are as much interested in your process as your final product. So take pictures throughout your entire project, chronicling each step of the design. Pictures are also great for balancing your presentation boards with before, during, and afters. Documenting will also actually help you to stick to an organized process since you know it will be on display.
#9
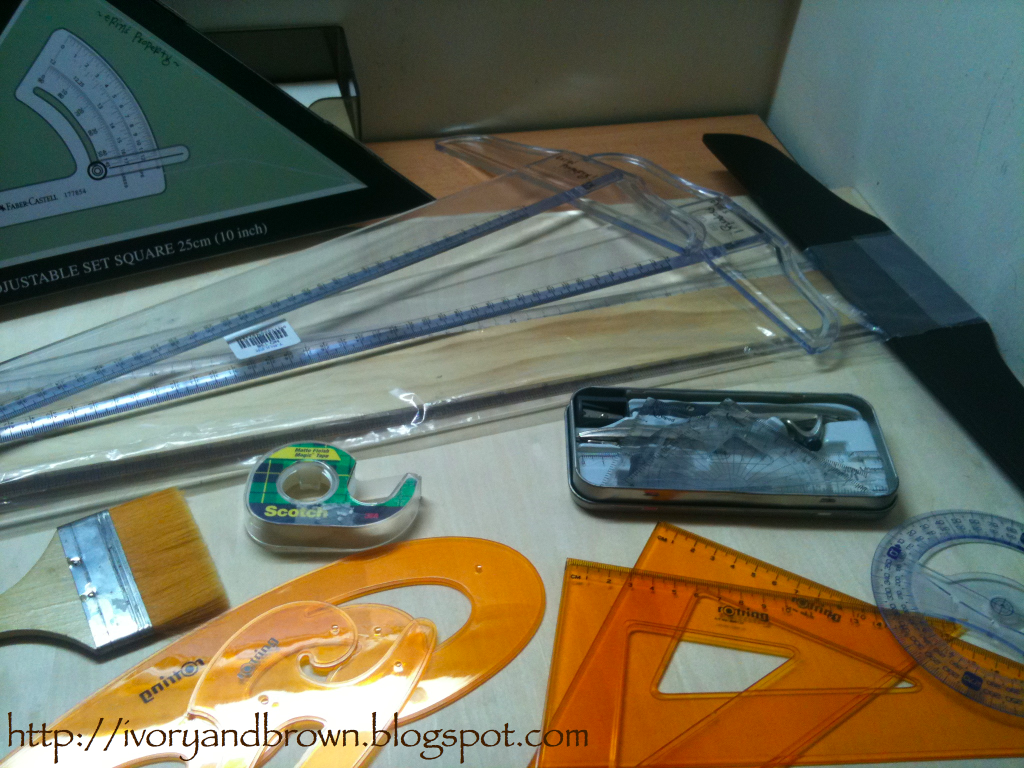
T-square - Back to the importance of being clean-cut. When it comes to drawing lines, cutting, and measuring, you don’t always want to eyeball it. A t-square will make sure your line is actually 90 degrees, and serves as a good straight edge that won’t slip when you cut against it. Also makes a good sword for studio jousting :)
(Agree...)
#10
Lock - All of these goodies will only be useful if they stay in your possession. And while your studio mates hopefully would not maliciously steal your stuff, things can get crazy at the end of semester where everything is everywhere and people are grabbing the nearest glue or ruler they see. So, when you’re done for the day, put your supplies in some sort of container and lock it up! Label your stuff so when someone borrows number 1-9 of this list, they can return it.
By: Elizabeth McCARTER
Published: August 16, 2010
Source:
here